You’re thinking about creating and selling an online course, and you’re excited to get started. You just have a few questions on your mind:
- What should my course be about?
- Do I need a professional studio to produce my course content?
- What platform should I use?
- How much time will this whole thing take me?
(Okay, maybe more than a few.)
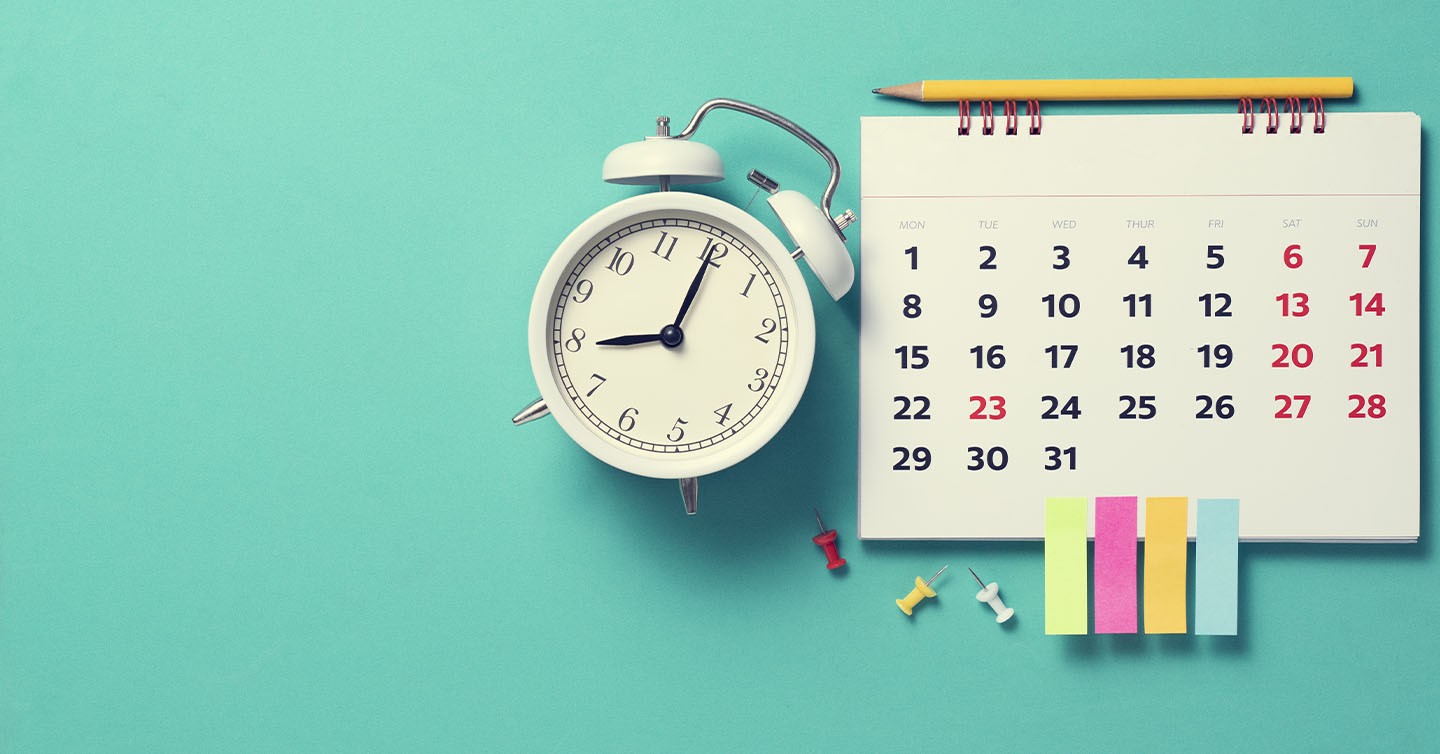
Today, we’re going to tackle that last question: How long does it take to create an online course?
From choosing a topic to going live, we’ll give you a 14-day timeline for creating and publishing your first online course.
As a busy creator, your time is a valuable asset, especially if you’re working on an online course alongside a full-time job. With that in mind, we’ll also share tips and tricks to make creating a course easier and more efficient.
Time is of the essence, so let’s jump right in.
Day 1–3: Choose a course topic
A great course helps your students achieve a specific goal or solve a certain problem.
To find out what your target audience is interested in learning, start by conducting some customer research. Spend a day looking at forums, online communities, and reviews for products in your niche. Ask yourself:
- What is my target audience talking about on social media?
- What questions are they asking each other?
- What new skills do they want to learn?
Let’s say you want your course to focus on skincare, but you don’t have a precise goal or problem in mind. You could scroll through the most popular recent posts on r/SkincareAddiction, a skincare subreddit with over one million members.
If you already have an online following or community, don’t be afraid to validate your product idea by asking them directly.
Tiffany Williams, the founder of Rich Girl Collective, learned what products and content her audience wanted by asking them.
“People really want to learn and know what they can do to start either a side-hustle to make some extra money or to be able to leave their job so they can do it full-time,” Tiffany told us.
“I just ask my audience what they want, what they want to learn, and if it matches something that I have done, and I have been successful with, then I teach it to them,” she explains.
Once you have a list of online course ideas, it might seem impossible — and time-consuming — to choose just one.
That’s where the Passion/Profit Matrix comes in.
The Passion/Profit Matrix helps you answer two questions:
- Passion: How excited are you about the subject matter?
- Profit potential: Do people already spend money to solve this problem?
Choose a course topic from the upper right quadrant. That’s the online course that you’ll be excited to work on and able to sell.
Once you have a course idea in mind, it’s time to spend a few days planning out your content.
Day 4–6: Plan out your course content
A wise person (some people say Benjamin Franklin) once said, “By failing to prepare, you are preparing to fail.”
Planning out your course content is one of the most important parts of online course development, especially if you’re trying to make the most of your time.
Ben Toalson, Podia’s video content marketer, recommends outlining and structuring your course content ahead of time:
“When you outline your content, it’s a lot easier to create a clear structure. A beginning, middle, and end. Humans like structure, especially when they’re trying to learn new content.”
Outlining your video content before you hit record can also keep you from overshooting footage, tacking on hours of extra editing time, or forgetting to cover an important point.
If this is your first time creating a course, it can be tempting to take the “brain dump” approach and add every lesson you can think of.
This approach is ineffective — not to mention time-consuming — because it focuses on information, not results. You don’t need to include everything you know about a topic. You just need to give your students what they need to achieve the specific result you promised.
Instead, start with the outcome and work backward. Create a module for every step it takes to reach that end result.
To save even more time, you can also repurpose your content. For example, you can turn your most-read blog posts on the topic into scripts for your course videos.
Whether you repurpose blog content or start from scratch, a script helps keep you on topic (and on time) when recording your videos. Plus, if you’re nervous about being on camera, having a script or teleprompter out of frame can help boost your confidence.
Just make sure you’re not obviously reading from a script.
It can come across as inauthentic, and people want to see your real personality. 92% of marketers believe that most or all of the content they create resonates as authentic with consumers. But 51% of consumers say that less than half of brands create authentic content.
Your tone and language also play a big role in coming across as authentic.
Research on online learning videos shows that a conversational tone can create “a sense of social partnership between student and instructor, prompting the student to try harder to make sense of the lesson”.
In other words, to create a top-notch learning experience, write like you’re talking to a friend.
Last but not least, planning out your video content also means figuring out how long each video will be.
Instead of cramming a ton of info into a single lesson, break each lesson into smaller, more digestible pieces. If you’re explaining a six-step process, consider creating six separate videos.
Your (and your students’) time is precious. Try to stick to six minutes or less per video. Online education researchers at MIT found that videos shorter than six minutes hold viewers’ attention longer, which means that more students finish each lesson.
Check out the length of the videos in Coding is for Losers’ course, Data Analysis the Lazy Way.

CIFL could have made all seven parts of the lesson into one 20-minute video. By breaking it up into smaller chunks, they keep their students engaged from one part to the next.
Now, with a few days of planning under your belt, you’re ready to start creating your course content.
Day 7–10: Record your course materials
It’s finally time to record your online course videos.
You set up your gear, get in front of the camera, and you’re suddenly hit with a wave of stage fright.
That’s totally normal. A lot of people — even experienced speakers — freeze when it comes time to hit record.
If you’re struggling with perfectionism, this might help you overcome self-doubt: The content of your course videos matters more than a fancy setup.
It all comes back to that authenticity we talked about earlier. Your students aren’t taking your course to watch a perfectly polished expert. They’re taking your course because they’re excited about the subject and want to learn from you.
That said, if you’re still feeling nervous, one of the number one ways to feel more confident on camera is to give yourself time to practice.
You can practice in front of a mirror or record yourself talking through your content as though you’re presenting to students. Watch your body language and how much time you take getting through the content.
Just make sure to be kind to yourself. We’re often our own harshest critics.
On the technical side, make sure to test out your audio and video equipment before you start recording. There’s nothing worse for sticking to a schedule than recording a full lesson’s worth of content, just to find that you didn’t plug in your microphone.
Check out these guides for our gear recommendations:
- Best microphones for online courses and webinars
- Best lights and lighting setup for online courses and webinars
If part of your course involves demoing something like coding or Photoshop, consider adding a screen recording to make your tutorial easier to follow.
For example, Grace Brown of Pen to Publish uses screen recordings in her course, Canva Tutorials for Authors.
Get more video pointers in this step-by-step guide to recording high-quality online course videos at home.
Before we move on, here’s one more piece of time-saving advice — don’t overshoot.
It’s easy to fall into the trap of recording extra footage “just in case”. But because you outlined your content just a few days earlier, you can rest assured that you’re capturing all of the relevant footage you need.
Plus, the more video you record, the longer it’ll take to edit.
Speaking of editing, let’s move on to the next step of the process.
Day 11–12: Edit your course videos
Video and audio editing can be intimidating to new creators. We won’t dive too deep into the ins and outs of editing in this article, but if you don’t know how to edit videos, don’t worry.
If you have the budget, you can outsource the task to a video editor. To find freelance editors, check out freelance marketplaces like Freelancer.com or Upwork.
Just remember this age-old adage: you get what you pay for. Instead of choosing freelancers who promise the lowest rates, seek out editors with experience and client testimonials. It’ll help you get the best work possible — and save you a lot of time later on.
One of the best tips is instead of editing an entire video in one sitting, work in multiple mini-sessions instead.
It might seem counterintuitive when you’re trying to work more quickly. Working in smaller sections can be one of the most efficient ways to edit videos.
Here’s why: Stepping away from your video helps you come back with fresh eyes later on. Hours of nonstop editing can keep you from spotting errors in your work.
Plus, our brains keep working on a project while we take a break from it. Taking regular breaks can help you overcome creative block.
With all of your content ready to go, you’re just a couple of days away from publishing your course. First, you need the right online course platform to get there.
Day 13–14: Upload and publish your course
Once you record and edit your videos, you’re ready to upload them to your online course platform.
If you don’t already have a platform picked out, I recommend signing up for a 30-day free trial Podia account.
I know, I know, I’m biased. Hear me out.
Podia lets course creators:
- Create, launch, and sell online courses, digital downloads, and webinars all from the same platform.
- Build a blog and beautiful landing pages for your products, no plugins or code required.
- Connect with your audience through email marketing and live chat messaging.
When it comes to making the most of your time, an all-in-one platform is the way to go. You don’t have to juggle multiple tools that don’t play well together or spend hours troubleshooting a glitchy WordPress site.
Plus, Podia’s drag-and-drop uploader makes it easy to upload and publish your course content in just a few clicks.
You can also add new content to your courses after they’re published. When you find the time to create new lessons, current and new students can access them in real-time.
This is also the time to set pricing for your course. Know that finding the right price can be an ongoing process, so don’t spend too much time trying to pinpoint the perfect figure. You can always change your pricing later based on customer feedback.
Here’s how creator Dan Bader explains it:
Once you upload your course content and set your price, you’re ready to publish. Watch this video for a walk-through of publishing an online course with Podia.
You did it! You planned, created, and published an online course in two weeks.
There’s just one thing left to do (besides celebrate).
You need to spread the word and bring in some students.
Marketing your course is a continuous task, and it’s not something you can fit into a neat two-day (or even two-week) block of time.
With that in mind, here are some resources to help you get started:
- 16 online course marketing strategies
- How to write a sales page for your online course
- How to build your email list fast
- 9 product launch email templates
As you explore marketing ideas and tactics, give yourself permission to experiment. It might take some trial-and-error to find what works best for you, your timeline, and your students. As Dan said, you don’t have to get everything 100% right during your first course launch.
All in all, it’s a learning experience — for you and your students.
It’s time to create a first-class online course
You’re ready to join the world of elearning, but it seems like there aren’t enough hours in the day. To plan ahead, you need to know: How much time does it take to plan, record, and publish your online course?
Every creator works differently, so there’s no one-size-fits-all timeline. That said, here’s a 14-day schedule for building an online course:
- Day 1–3: Choose a topic for your course. When in doubt, ask your customers what they want to learn.
- Day 4–6: Plan out your course content. Outlining your content and writing a video script can help you save time later on.
- Day 7–10: Record your course videos and screen recordings. If you’re feeling nervous, give yourself time to practice before you start recording.
- Day 11–12: Edit your course videos. If you have the budget, outsourcing can be a great way to save time. If you’re doing it yourself, take the time to edit in multiple mini-sessions instead.
- Day 13–14: Upload your content to Podia, set a price, and publish.
Whether you create your first online course in two weeks, two months, or two years, we’re here for you every step of the way. We can’t wait to watch your hard work pay off.
Try Podia free for 30 days and start selling your online course today.


